November 27, 2025
6 min read
Removing internal welds on pipes and tubes is essential for a lot of industries, particularly for pharmaceutical applications where the risk of entrapment and contamination is a process critical issue.
Following an extensive testing program we have created four processes that work quickly and effectively to produce consistent finish results every time. All the kits contain the right abrasive & finishing products plus the process information for finishing internal orbital welds.
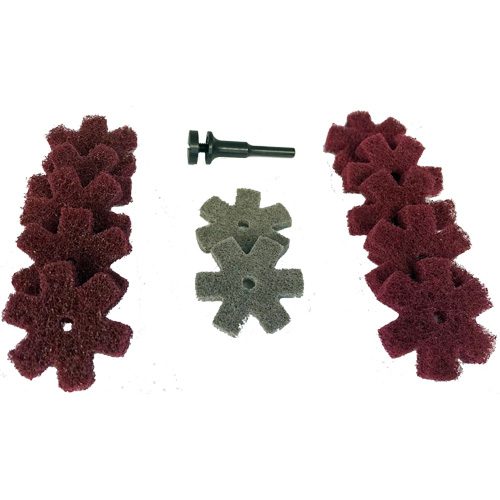
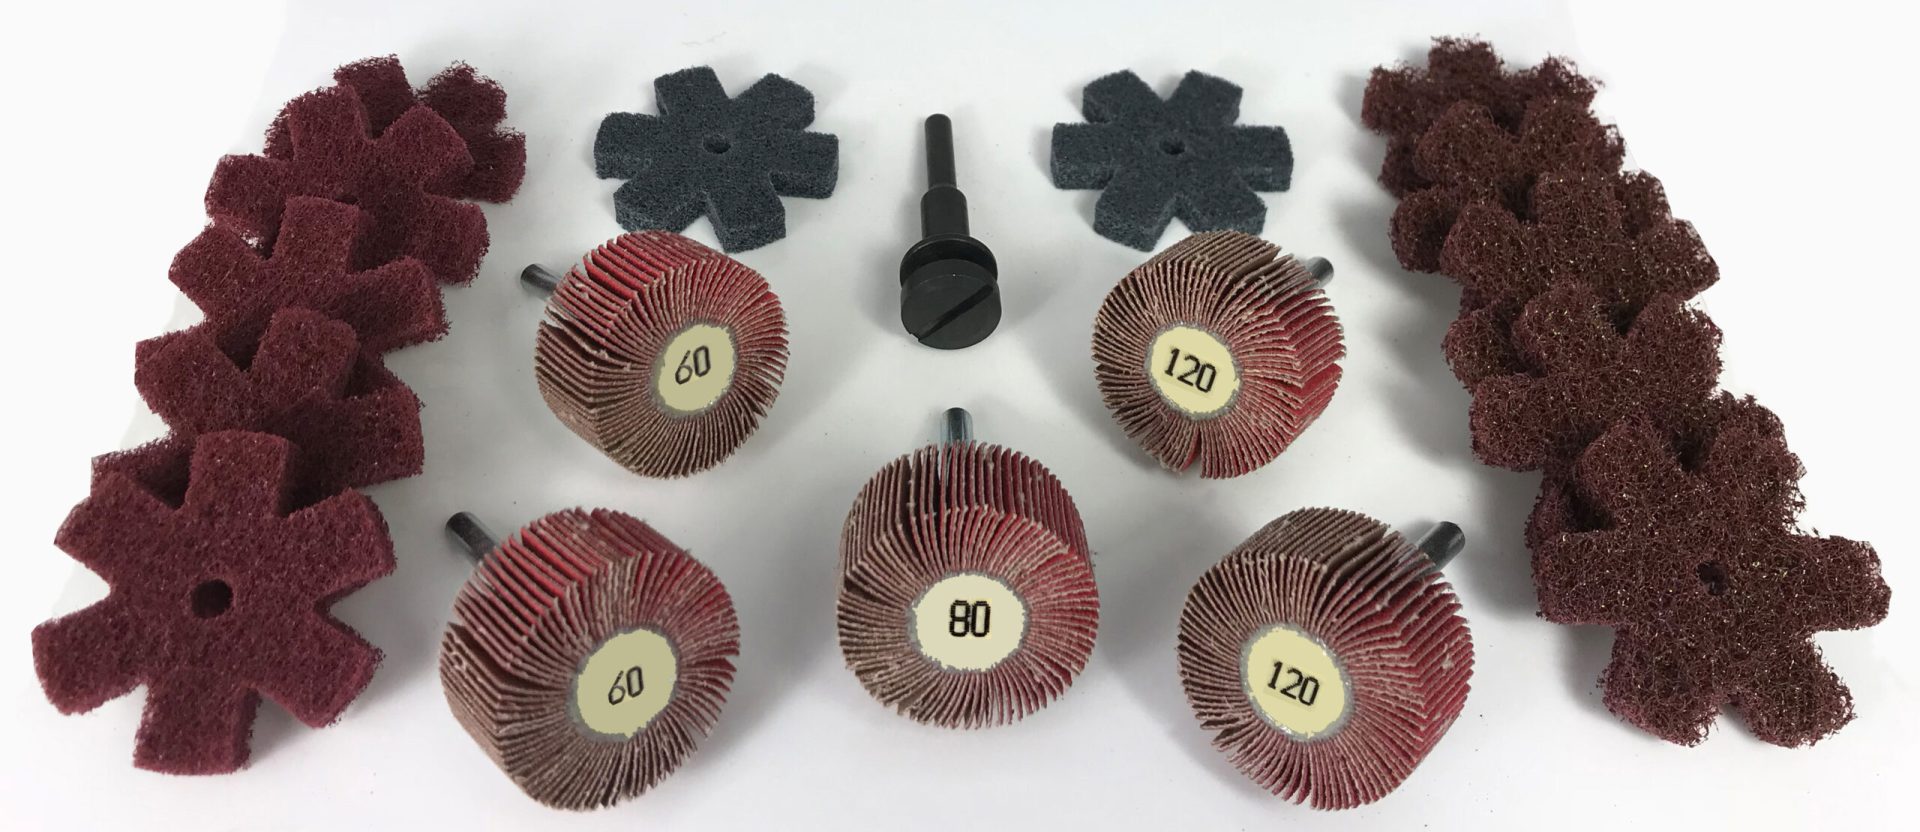
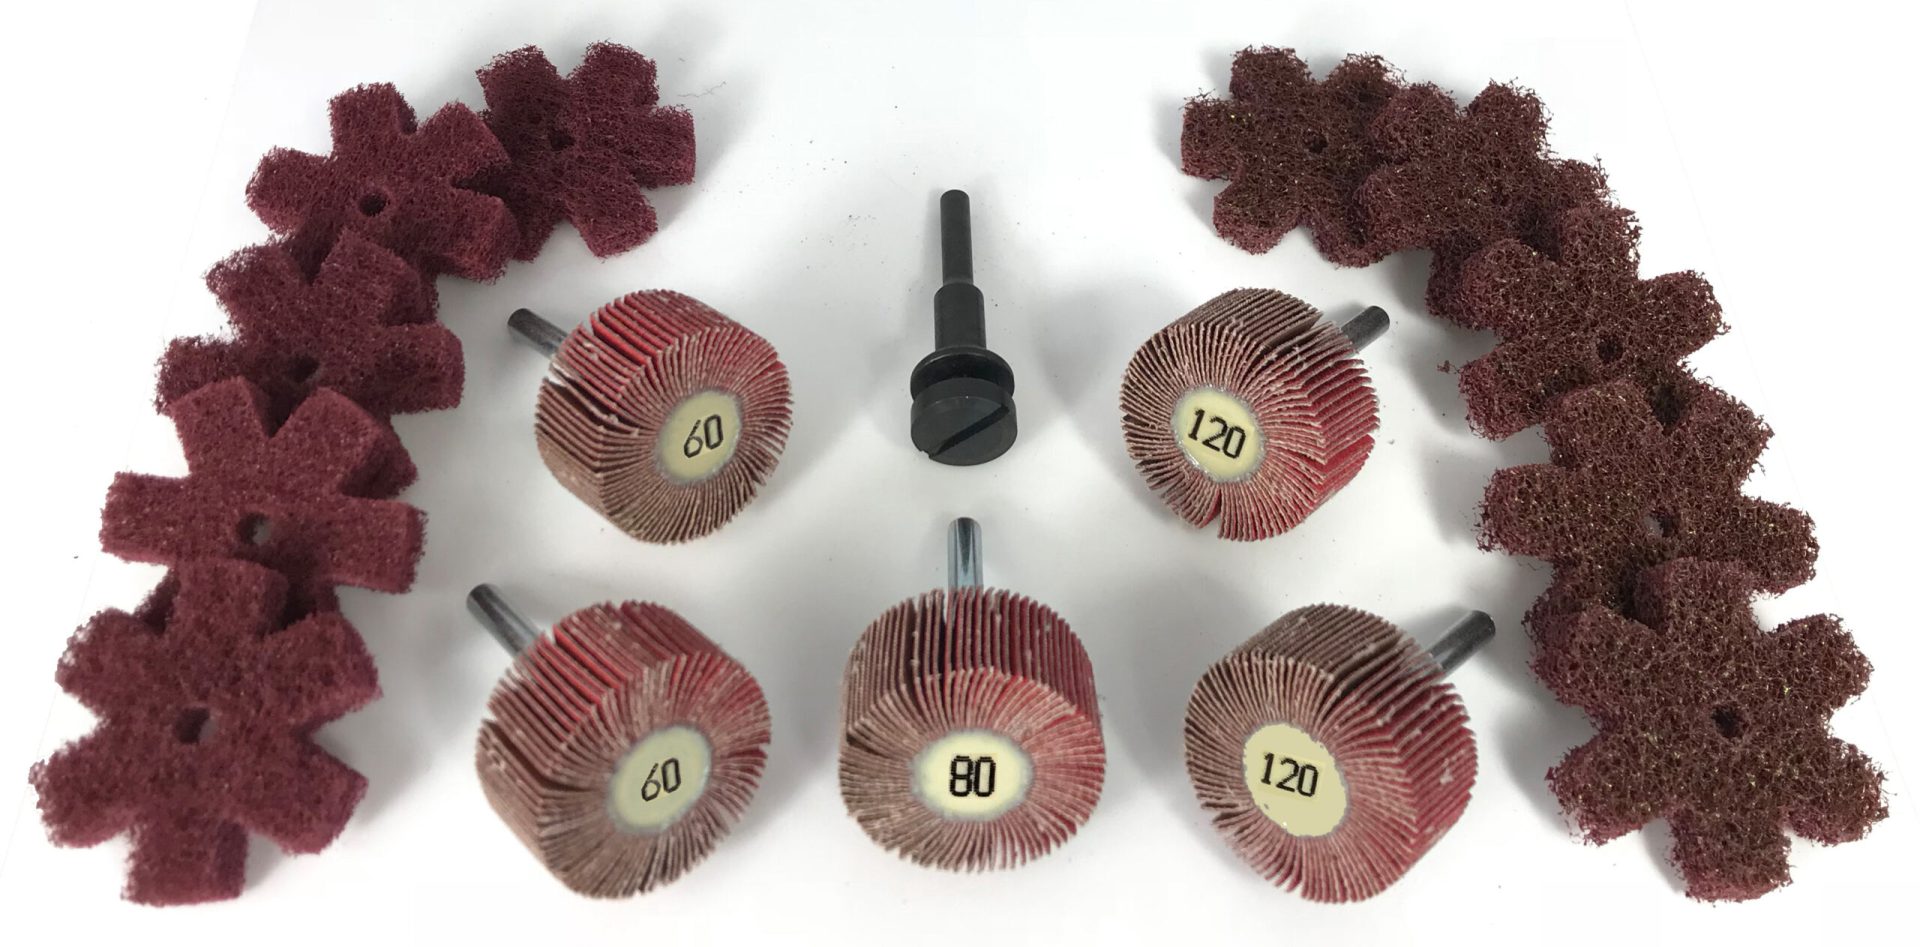
Ceramic abrasive flap wheels for removing the weld, a range of high strength stars for refining sanding lines plus unitised and felt stars for enhancing the finish further. Three kits, available in 3 different diameter ranges:
n.b. Do not confuse the new ceramic flap wheels with the traditional abrasive flap wheels. The new Cibo Ceramics will remove the weld consistently and quickly.
Removing an internal weld on stainless steel has been made so much easier with our Internal Tube and Pipe Kits.
It is important to provide enough aggression to remove the weld quickly but also in a way that leaves a consistent tube finish for the next stage.
Stage 1 – Weld Grinding & Blending
Use the 60 grit ceramic flap wheel to remove the initial weld. Working at the correct speed will give fast weld removal and ensure wheel lifetime and finish are at optimised. Check the finish inside the tube is consistent to make the following steps easier.
Tip: If you have a particularly good orbital weld you can remove the weld with the Cibo Ceramics P80 wheel.
Tip: This is the critical step to ensuring a consistent finish. The 60 grit flap wheel will leave deeper sanding lines in the stainless steel tube. Refine and remove the 60 sanding lines with the 80 or 120 grit ceramic flap wheel. It is worth spending the time to ensure all the P60 sanding marks have been removed before moving on to the finishing process.
| Step 1:
Machine: Speed: Product: |
Remove the initial weld with the 60 grit ceramic flap wheel Straight grinder / flexible drive Diameter dependent LS 60 grit Ceramic Flap Wheel
|
Play
|
The next step depends on the specification of the finish required.
Use the High Strength Medium Stars to blend the surface to a 240 grit finish.
For a 320 grit satin finish repeat the process with High Strength Very Fine Stars
Finish as above to a P320 grit finish then use the Untised SAS/5 Stars to create your pre-polished finish. In our testing we consistently achieved a finish in the range ).25 – 0.28 Ra.
The Internal Weld Removal Kit – 0.3 Ra Finish
For a bright polished finish it is important that the surface finish is clean and consistent, then use the green polishing compound and Felt Stars to create a mirror polished finish on the stainless steel. In the kit we include 4 felt stars. When the finish has been created use a clean felt star on the mandrel to remove any polishing residue.
The Internal Weld Removal Kit – Mirror Finish
Benefits of the New Process
Speed – Ensure that to run the machine at the recommended speed for the abrasives, see help sheet in the box for further information. Running your machine too slowly will make the abrasives ineffective and lack cutting capabilities, running too fast increases the heat going into the metal and wearing the abrasive down too quickly.
Patience – Check finish before moving on to the next stage. Doing this ensures the final finish will be of the highest quality and will limit the amount of mistakes which are highlighted when finishing to a high standard.
Cost Saving – If you find yourself running low on one of the products from the kit check out the web page where all the products in the kit are available to buy individually.
Internal Tube With A Mirror Polished Finish Using The Internal Tube Kit For Mirror Polishing